Share
Whether you’re new to short-form content or want to perfect your editing techniques, there are tons of tips and tricks that can elevate your Reels. It’s important to stand out, especially when viewers scroll quickly through their feeds.
Here’s how to make a Reel that will entertain your existing followers and bring in new ones.
What Are Instagram Reels?
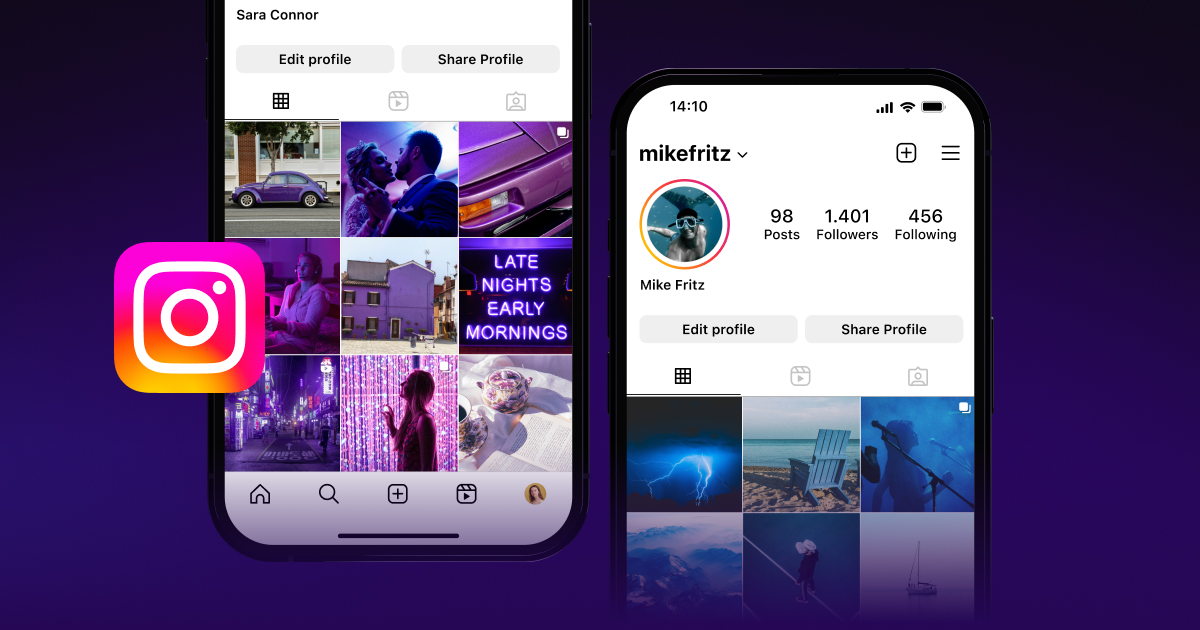
Instagram Reels are short, vertical clips. If you record your Reel in the Instagram app, they can be up to 90 seconds long — but Instagram automatically makes any video you upload to your profile a Reel. That means if you want to post something longer than 90 seconds, you just need to edit it elsewhere and then upload it to Instagram. Once you post, Instagram’s algorithm shows it to people who might be interested, which could bring you more followers and grow your community on the app. All Reels you post show up on your profile, in followers’ feeds, and in Instagram’s Reels tab, where any user can watch them.
Instagram Reels are versatile, which means you can create Reels with endless formats. You can splice together a sequence of photos, record a video in the moment, or upload ready-made clips. They’re anything you want them to be, which is part of what makes them so fun to make (and to watch).
Instagram offers a lot of manual editing options for splicing clips, adding music, and including stickers and filters to your Reels. You can also pre-edit your video in an app like Captions with effects the Instagram app editor doesn’t have. Add customized AI captions, trim away filler words and pauses in your speech, and even compress your video so you don’t run into trouble when uploading. These features save you time and make your Reels look more professional.
How To Make an Instagram Reel
When you upload any video to Instagram, it’s automatically a Reel — so all you need to do is hit “Post.” However, making Reels that stand out requires thought, planning, and editing. Use the following three steps to generate a unique clip that your audience will love:
1. Establish a concept
Sometimes, hitting record and sharing a moment from your day results in a great video — no planning required. That said, to consistently deliver great videos, figure out what you want to say before you film. This ensures your Reel makes sense and doesn’t miss out on anything you want to show or say.
Start by determining a theme for your video, like recent outfits, travel pictures, or skateboarding tutorials. Then, make an outline to plan which clips you’ll include so you know what to film. You can also brainstorm ideas for audio and visual choices, like background music or any text you’ll add, then decide which clips they’ll pair with.
2. Create and edit
To create your Reel, you can record a video in the app or Remix a Reel that you or someone else has already posted. You can also start recording and editing Reels in an external app, like Captions, which has more specific features and editing options.
Here’s how to tackle the process:
Record Your Reel in Instagram
You can record a Reel directly in the Instagram app using the following steps:
- Open the Instagram app and tap the plus sign at the bottom of the screen or in the top-right corner of your homepage.
- Select Reel from the bar of options that appears over your camera roll.
- On the next screen, tap Camera.
- If you want to, apply a filter or audio selection using the options on the side of the screen. You can always add audio or stickers later if you aren’t sure what you want to use. However, knowing that you can’t remove filters after filming is important.
- Start recording.
Record Your Reel in Captions
You don’t have to use Instagram to record your Reel. You can just use your phone’s camera — or better, you can record and edit your Reel in an all-in-one creative studio like Captions. Here’s how to use it:
- Open the Captions app and click Create at the bottom of the screen.
- Tap on Camera from the pop-up menu. If you have a script, you can upload it here and use the Teleprompter function to view it as you record.
- Tap the circle button at the bottom of the screen to record. Tap that button again (now square) to stop recording.
- Hit the purple checkmark in the lower right-hand corner of the screen.
- Select the language you recorded in, and then tap the purple button to proceed. This is in case you decide to add AI Captions, the app knows what language you’re speaking in.
- Use the menu at the bottom of the screen to perform initial edits on your video, like adding automatic captions, using AI to cut out audio pauses, or correcting your eye contact.
- Hit the Export button in the upper right-hand corner of the screen to download your video to your camera roll. Then, you can upload it to the Instagram app.
Create a Reel from Your Camera Roll
Here’s how to make a Reel with pictures and videos you already have on your phone:
- Open Instagram and tap on the plus sign at the bottom of the screen.
- Tap on Reel in the options bar.
- On the next screen, tap Select in the right-hand corner over your camera roll and select the photos and videos you’d like to add to your Reel. You can splice multiple clips together and change the order if you want.
- Tap the arrow in the screen's lower right-hand corner to add music to the Reel, and hit the arrow again. You can also tap Omit if you’d rather use your video’s existing audio.
- Add stickers, filters, and text on the final screen before posting.
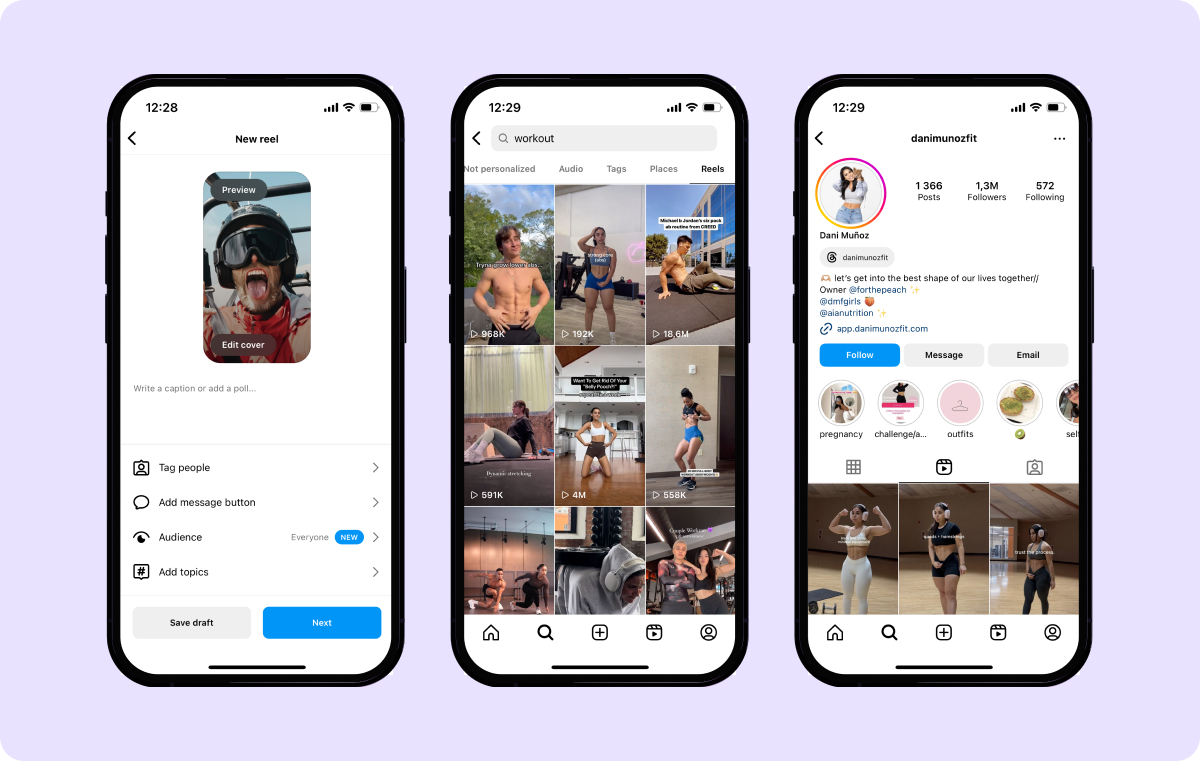
Remix a Reel
With Instagram’s Remix function, you can add commentary to an existing Reel that you or someone else has posted, like a Stitch on TikTok. Your reaction or commentary will appear beside the existing video so viewers can see both at once. Here’s how to Remix a Reel:
- Find the video you’d like to Remix.
- Tap on the three dots in the menu bar on the right-hand side of the screen.
- From the pop-up menu, tap on Remix. You’ll then be able to film a clip so it appears beside the original video. You can also add additional text, stickers, music, or filters.
3. Post or Save for Later
After you edit and before you post, you can also change the cover image (what appears on your profile), tag people, and write a caption with hashtags and locations. Adding a clear and helpful video description lets the algorithm know what the video’s about, helping it recommend your Reel to the right audience.
If you’re satisfied with your Reel, here’s how to post a Reel on Instagram: Simply hit “Share,” and you’re done. If you prefer to post it later, or you want to take a break and make more edits later, select “Save Draft.” You can find that draft later by following the same steps you normally would to create a new Reel.
3 Tips for Making Reels
There’s no exact recipe for an excellent Reel, but top-notch videos often share some of the same ingredients. Many great Reels respond to trends, are high-quality, and represent your personality and content well. Here’s how to create the best Reels possible:
1. Stay on Top of Trends
Some content creators have skyrocketed to fame by jumping on a trend. Pay attention to popular audios, editing styles, and effects to stay up-to-date. Just be sure to use the right sounds and hashtags so the algorithm can tell you’re participating in the trend and making great content.
You don’t have to follow every single Instagram or TikTok trend — in fact, that might make your content seem less genuine However, if you see an opportunity to use a popular sound or effect that suits your content, take it. A viewer who might not have otherwise found your profile may discover it because of the trend.
2. Make High-Quality Content
A choppy or badly lit video can make viewers — and potential followers — scroll away. When you’re filming, make sure your audio sounds good, your lighting is clear and bright, and you’re speaking clearly. During editing, cut away any irrelevant content and make sure the video is crisp. That way, viewers don’t get distracted by bad editing, background noise, or poor-quality recording.
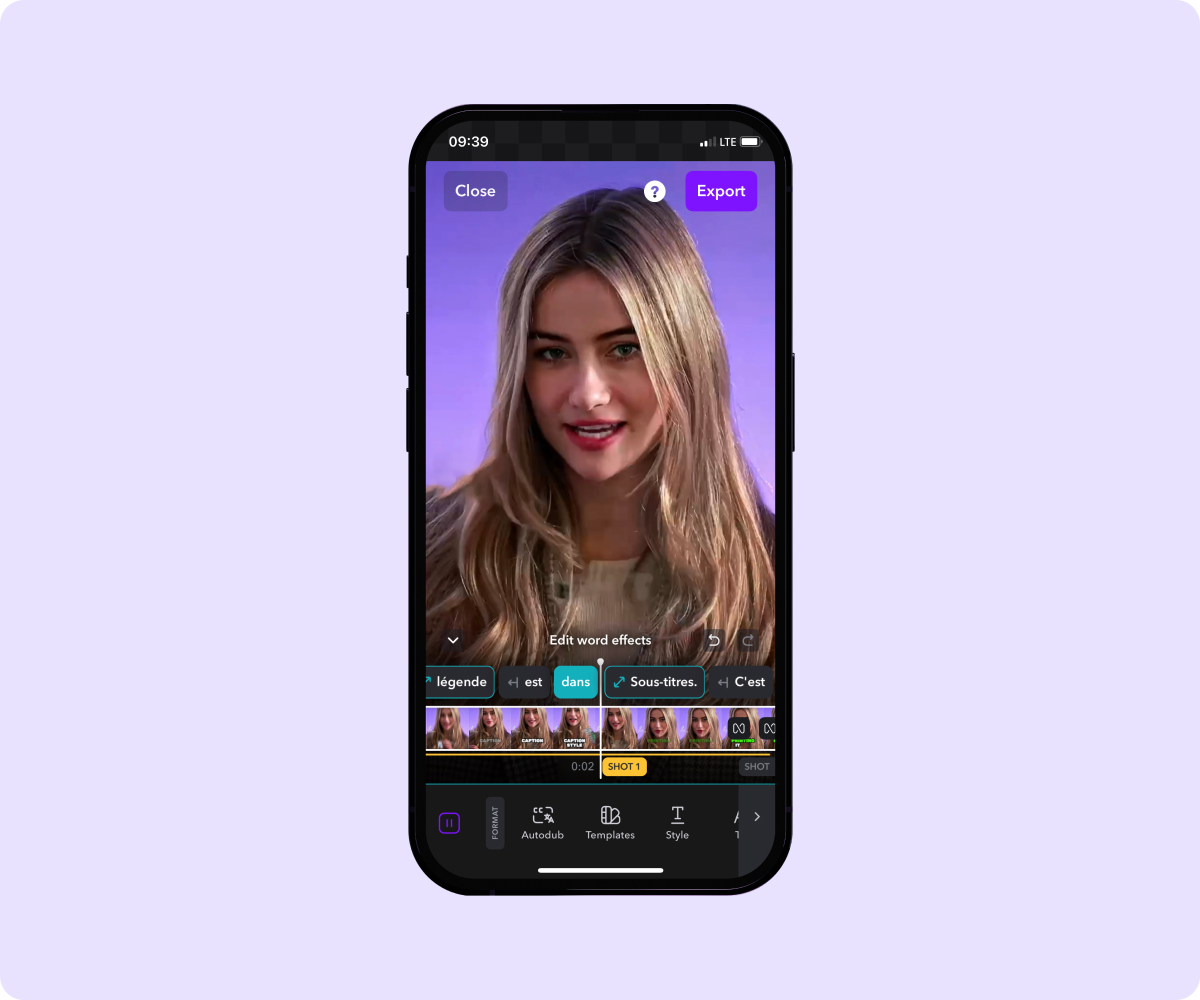
If you kept looking away from the camera or didn’t stick to your script while recording, don’t worry. In the Captions app, you can fix everything in post-production. Its AI features will automatically cut out awkward pauses, add captions for clarity, and adjust your eyes so you’re always looking at the camera.
3. Stick to a Niche
As you plan out your content, think about what you want your identity to be as a creator. Do you post vlogs? Style thrifted clothing? Create comprehensive how-tos? Thinking about what viewers expect from you can give insight into what videos to create next. If they love your “What I eat in a day” Reels, you could hook them further by posting recipes and ideas. A sudden tutorial on changing a tire might catch them off guard and cause them to scroll away or even unfollow.
The visuals of your videos also show who you are as a creator. Keep the aesthetics of your Reels in mind while editing, and try to be consistent. This could include your editing style, the filters you use, or the vibe of your music. In Captions, you can also add subtitles with unique fonts and colors to set yourself apart and create recognizable visuals.
Take Your Instagram Reels To the Next Level With Captions
Anyone can use the Instagram app to edit and post a Reel. With Captions’ AI tools, you’ll set yourself apart and create videos that amaze your audiences.
Captions’ intuitive tools allow you to add personalized subtitles in many languages and dub your clips so you can connect with audiences all around the world. Plus, you can clean up the quality of your audio by removing unwanted pauses and cutting out background noise — all thanks to Captions.
By
April 25, 2024
-
9
Min Read
Stay in the loop
Subscribe to our newsletter and get all the news from Captions. No spam, we promise.
Oops! Something went wrong while submitting the form.
Professional videos made easy