

June 30, 2026
The Captions blog

All articles

How to make a TikTok video from scratch (with AI)
Tips to write short-form video scripts that get views

Captions vs. CapCut: Which AI video editor is right for you?

How to start a faceless YouTube channel

How to add captions to Instagram Stories

Three new AI edit styles to try this summer

Your AI video skills can now show up on LinkedIn

How to make Instagram Reels that actually get views (2026 guide)

Video hooks: How to write a scroll-stopping opening

20 Instagram hacks to try in 2026

Captions and subtitle fonts: 5 ideal styles

How one real estate agent used Captions to turn videos into sales

How to make a talking head video that actually looks professional
How to get more likes on TikTok: top tips

How to get transcripts of a YouTube video: a quick guide

The best way to turn real estate listing photos into video tours

How to edit TikTok videos for maximum engagement

Earning on Instagram: the follower count question, answered

TikTok Gifts: What they're worth and how to earn more
100+ YouTube channel name ideas to help you stand out

Three new AI Edit video styles, built for any business need

Stop missing out on the benefits of moving text in videos

Meet Cappy: The first AI video editor you can text

How to add auto-captions to videos (tips and tools)

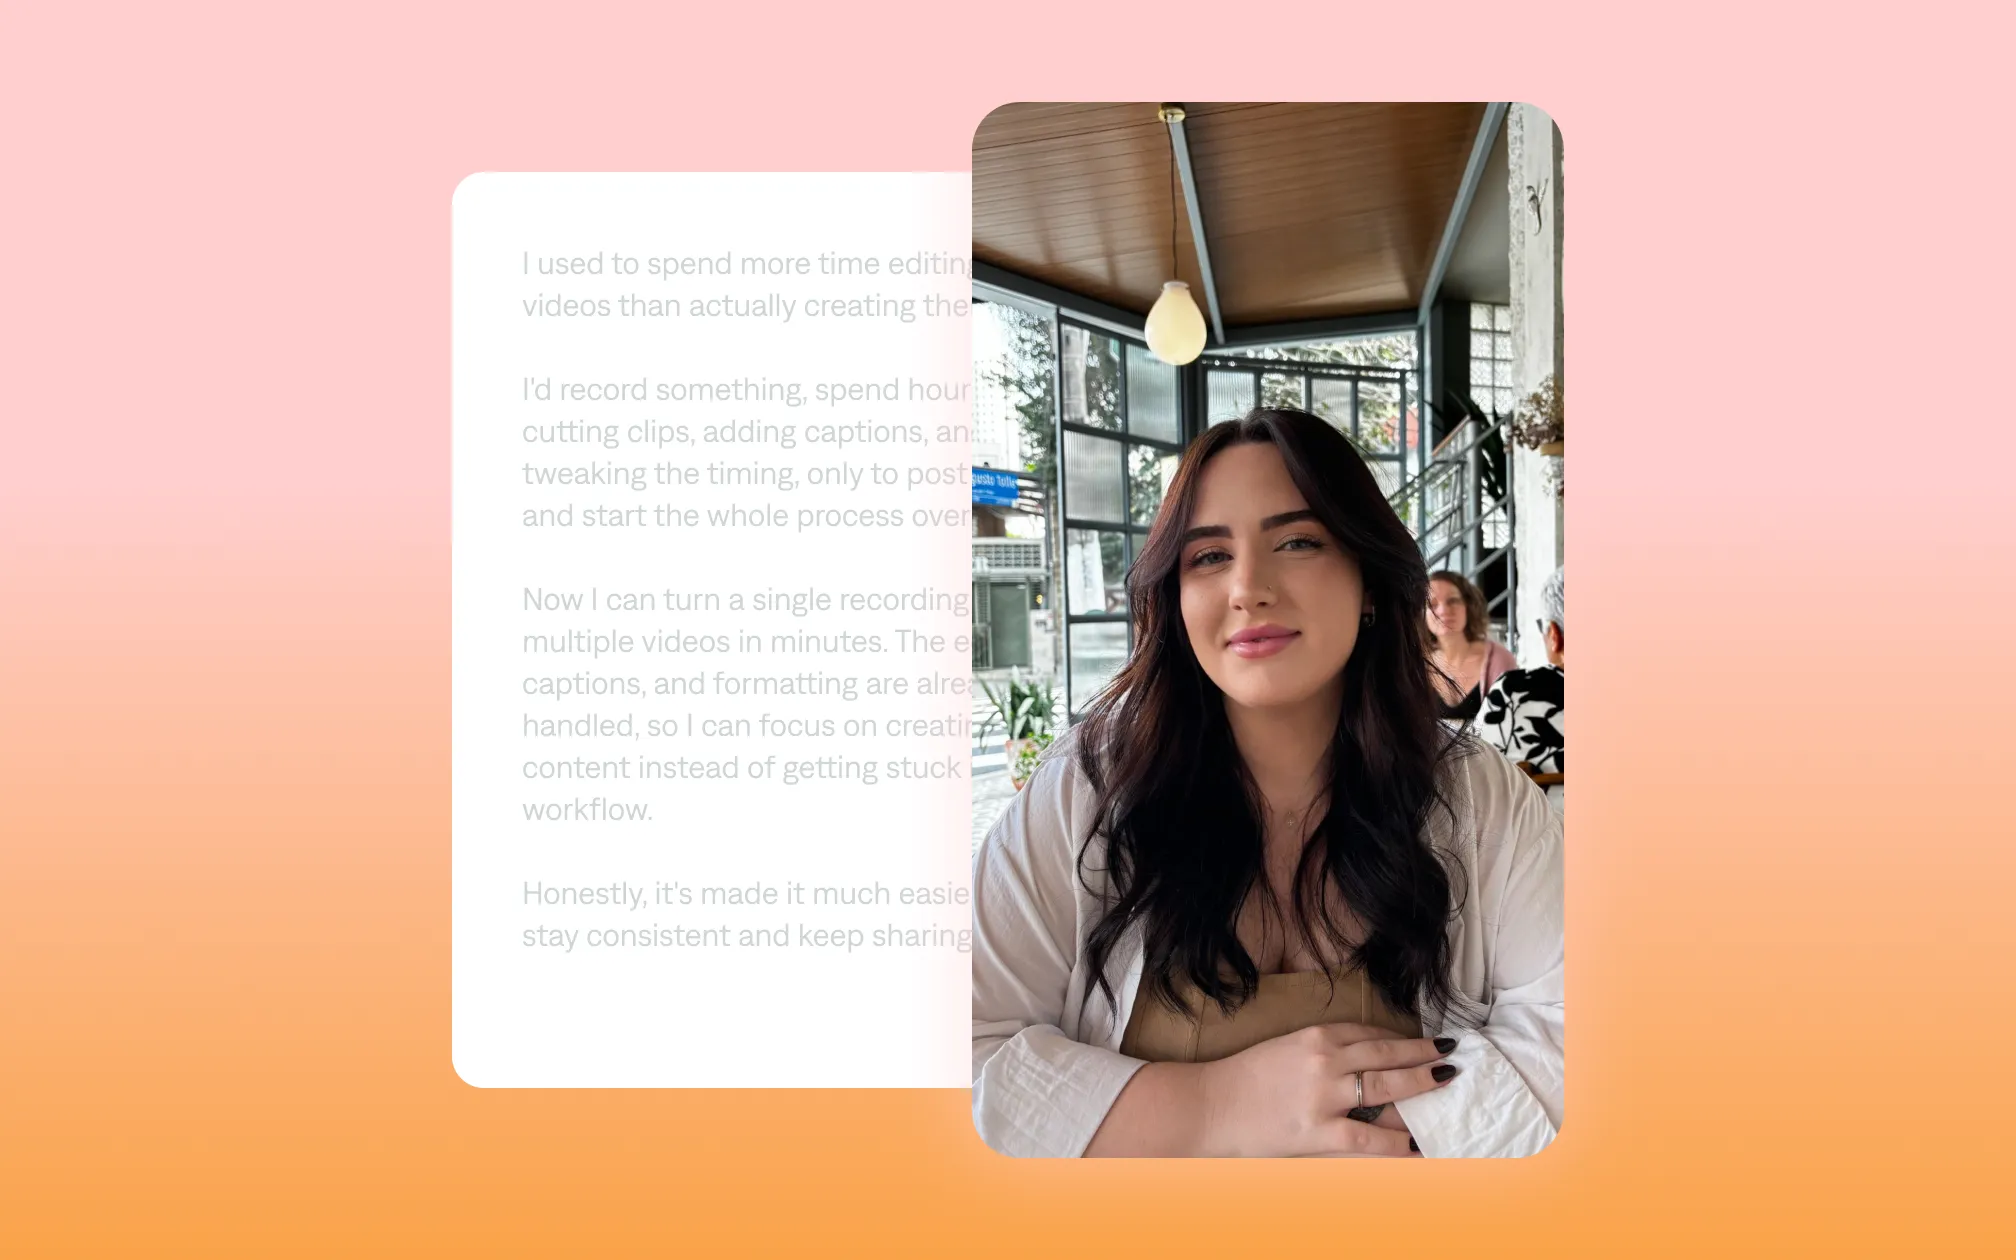
How to make a video quickly (without spending hours editing)

What’s a digital creator, and how do you become one?

How small teams are moving faster with Captions

How to get the perfect take, no matter where you're looking

Six common types of cuts in film

How to reduce mic background noise before and after recording videos

How to make the trending negative text effect for videos
Announcing Mirage’s $75M growth financing with General Catalyst

Instagram bio ideas for creators, brands & businesses (2026)

Mirage achieves SOC 2 compliance

Add music to a video with Captions

How to write a winning AI video prompt

Video localization: Best practices for global brands

Video editing tips for beginners (2026 guide)

How to make an avatar from photos

Glossary: AI terms every content creator should know

Captions vs. subtitles: How to choose the best option

Why AI avatars are the future of scalable content

Captions brings one-tap video editing to horizontal formats

Easy tools for content clipping

Repurposing content for social media: Make your videos work harder
9 TikTok ideas for businesses you can use today

How AI is changing video production

Find your video style with AI Edit

Shaping voices: Crafting expressive audio

How to make UGC videos: tips and tools

How to use B-roll: A practical guide to better videos

How to improve your video SEO strategy

How HubSpot built better campaigns with Mirage

Your guide to AI credits

Take a seat in the director's chair.

Editing videos is now as easy as typing.

Introducing Mirage: The future of video starts now.

How a startup improved their creative with Captions

We build synthetic humans. Here's what's keeping us up at night.

AI Video Is Inevitable. How It's Built Is Not.

Seeing voices: Foundation model research report

Mirage: The World's first foundation model for UGC video

Captions announces Series C to invest $100M in AI video research in New York.

Captions announces a $25 million Series B for our AI-powered creative studio