How To Use Luma AI: A Beginner Guide for Content Creators
Luma AI is redefining what's possible for social media influencers and content creators. With its cutting-edge tools for 3D capture, AI video generation, and NeRF rendering, Luma AI gives you a quick way to bring ideas to life with exceptional detail.
You don't even need a film crew or an editing professional. You can use Luma AI directly within Captions and generate, edit, and share — all in one platform. Tell AI what you want, and you’ll see results in minutes. Within minutes, your videos can be live on social media.
Learn how to use Luma AI for generative content and explore best practices for better results.
What’s Luma AI?
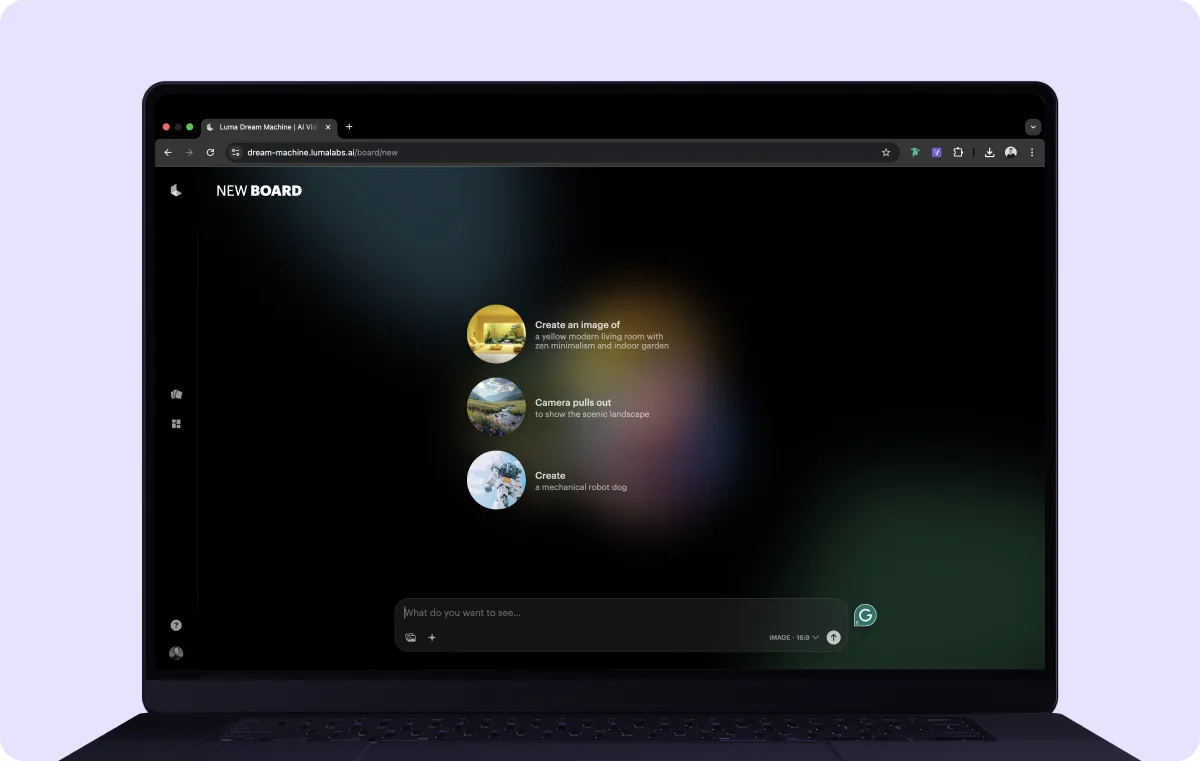
Luma AI is an artificial intelligence tool for creating high-quality 3D visuals from text prompts and photos. It generates results using advanced machine learning (ML) and a text-to-video "Dream Machine" model.
Here are some of Luma AI's main features:
- 3D capture — This feature turns real-world objects and scenes into lifelike models using just a smartphone. Luma AI's scanning technology accurately captures colors, textures, lighting, shadows, and depth. It helps visualize products and works for AR/VR experiences in the gaming industry.
- NeRF rendering — Luma AI can generate lifelike 3D scenes and digital spaces from images. Neural Radiation Fields (NeRF) capture real-world objects in their environments with photorealistic depth and detail.

- AI video generation — You can create videos with realistic motion and transitions. Luma AI generates different backgrounds that move with characters and animations, adding a natural depth to video elements — as if they were occurring in real life.
- Object removal — With Luma AI, you can erase unwanted objects from photorealistic scenes without compromising on finer details like textures and lighting.
Since you only need images and text prompts, Luma AI makes high-quality content creation accessible to content creators, gaming and marketing professionals, and hobbyists.
How To Use Luma AI: 4 Steps
Luma AI is only as capable as your input is precise. Whether you're using photos or text prompts, here's a step-by-step guide to get started.
1. Setting Up Your Account
To begin, create a free Luma AI account on the website or mobile app. You can also set everything up directly within Captions. After signing up, you'll land on the dashboard, where you can access features like 3D Capture, AI Video Generation, and NeRF Rendering.
If you're unsure where to start, Luma AI provides sample projects to showcase what's possible with its features. Spend a few minutes exploring these to understand how different features work and how you might apply them to your creative projects.
2. Uploading and Generating Content
Luma AI has various tools to bring your ideas to life. Here are different ways to use them:
- Capture 3D objects — If you want to turn a real object into a 3D model, use your smartphone to scan it from different angles in a real-world setting and upload the footage. Luma AI will use machine learning and algorithms to reconstruct it accurately for online use.
- Generate videos using AI — If you have a concept in mind but no footage, you can enter a text prompt the Captions app to generate a new video. The Luma AI integration will take a moment to analyze the raw files and create a video with smooth, natural motion and lifelike depth. As a content creator, you can use this feature to make a video intro scene without shooting physical footage. Then, drop the video into Captions and start editing.
- Create 3D scenes with NeRF rendering — Instead of building a 3D scene manually, upload a set of images, and Luma AI will generate a photorealistic 3D environment. This is great for content creators, game developers, and filmmakers who want to create virtual backdrops or realistic world-building assets.
After uploading your content, adjust the settings to customize the final result. Before running the AI generation, you can use text prompts to mention exactly how you want camera angles, lighting, and movement to appear in the final result.

3. Editing and Refining Your Creations
Luma AI isn't limited to automating tasks like video generation or 3D models. You can also control the final appearance of your output by making a few adjustments:
- Change the finer details — After generating a 3D model, you can adjust textures, lighting, and depth to ensure it looks as accurate as possible. For example, if you're designing a product prototype, you can refine reflections or surface details for a more lifelike appearance.
- Remove unwanted objects — If your 3D scan captured too much background clutter, you can ask Luma AI to clean up any unnecessary elements and keep only the central subject.
- Enhance AI-generated videos — If your AI-generated footage needs smoother transitions or better pacing, change the movement parameters in your text prompt so the output looks more cinematic. For example, you can ask Luma AI to make your footage as if you shot it with a slow-motion camera to increase the scene's dramatic effect.
4. Exporting and Sharing
Once you're happy with your AI-generated result, Luma AI provides multiple export options depending on how you plan to use it:
- Download in 3D formats — Download your AI-generated visual in 3D modeling formats like GLTF for game development, AR/VR projects, or interactive web elements.
- Export as a video file — You can also export the Luma AI-generated file as a JPEG, PNG, or MP4 for uses like social media clips and marketing campaigns.
- Generate a shareable link — If you don't want to download anything, you can easily create a link to showcase your 3D scene or AI-generated video without additional software.
How To Use Luma AI With Captions
Captions seamlessly integrates with Luma AI, meaning you can quickly create AI-generated videos for your needs. Here’s how to use these tools together:
- Upload an image or enter a text prompt — Use a photo or describe your scene in detail, like "an image of a metropolis a thousand years from now in the style of Blade Runner" or "a slow-motion wave crashing on the shore."
- Select Luma AI — Choose Luma AI from Captions' list of AI tools. The AI will analyze your image or prompt and turn it into a lifelike 3D video with realistic details.
- Generate and customize — Generate your video. If you want adjustments, go back and adjust your text prompt to change camera angles, lighting, and textures for better results.
- Export and share — Download high-resolution videos and export them directly from Captions.
Tips for Using Luma AI
Follow these tips to get the best results from Luma AI:
- Optimize inputs for better results — High-quality images and well-written text prompts give Luma AI more details to work with, resulting in better AI-generated videos. If you're using a photo, make sure it's well-lit and has high-resolution clarity. Add details like mood, lighting, and camera angles for text prompts.
- Experiment with AI tools — Luma AI offers various rendering styles and motion effects. Try different prompts, adjust movement settings, or re-run the AI generation to get multiple options for your input.
- Troubleshoot common issues — If your video looks blurry or unnatural, try adjusting input quality or descriptions. Although it might not seem intuitive, complex scenes sometimes require simpler prompts for Luma AI to interpret.
Perfect Your AI-Generated Images with Captions
Luma AI takes simple prompts and pictures and turns them into art — and pairing it with Captions gives you numerous tools to polish content and create professional-level videos for any platform.
Whether you want to add subtitles, create AI voiceovers, or use an AI Video Editor for ready-to-use videos in minutes, Captions has all the tools to complement Luma AI for better results. Try Captions today.


